Have you heard of the Simple Curves Ruler? It’s a pretty slick tool that makes cutting, piecing and sewing with curves a breeze! I’d to show you just how easy using this ruler is!

Let’s get started! First of all, we need to cut the curves.

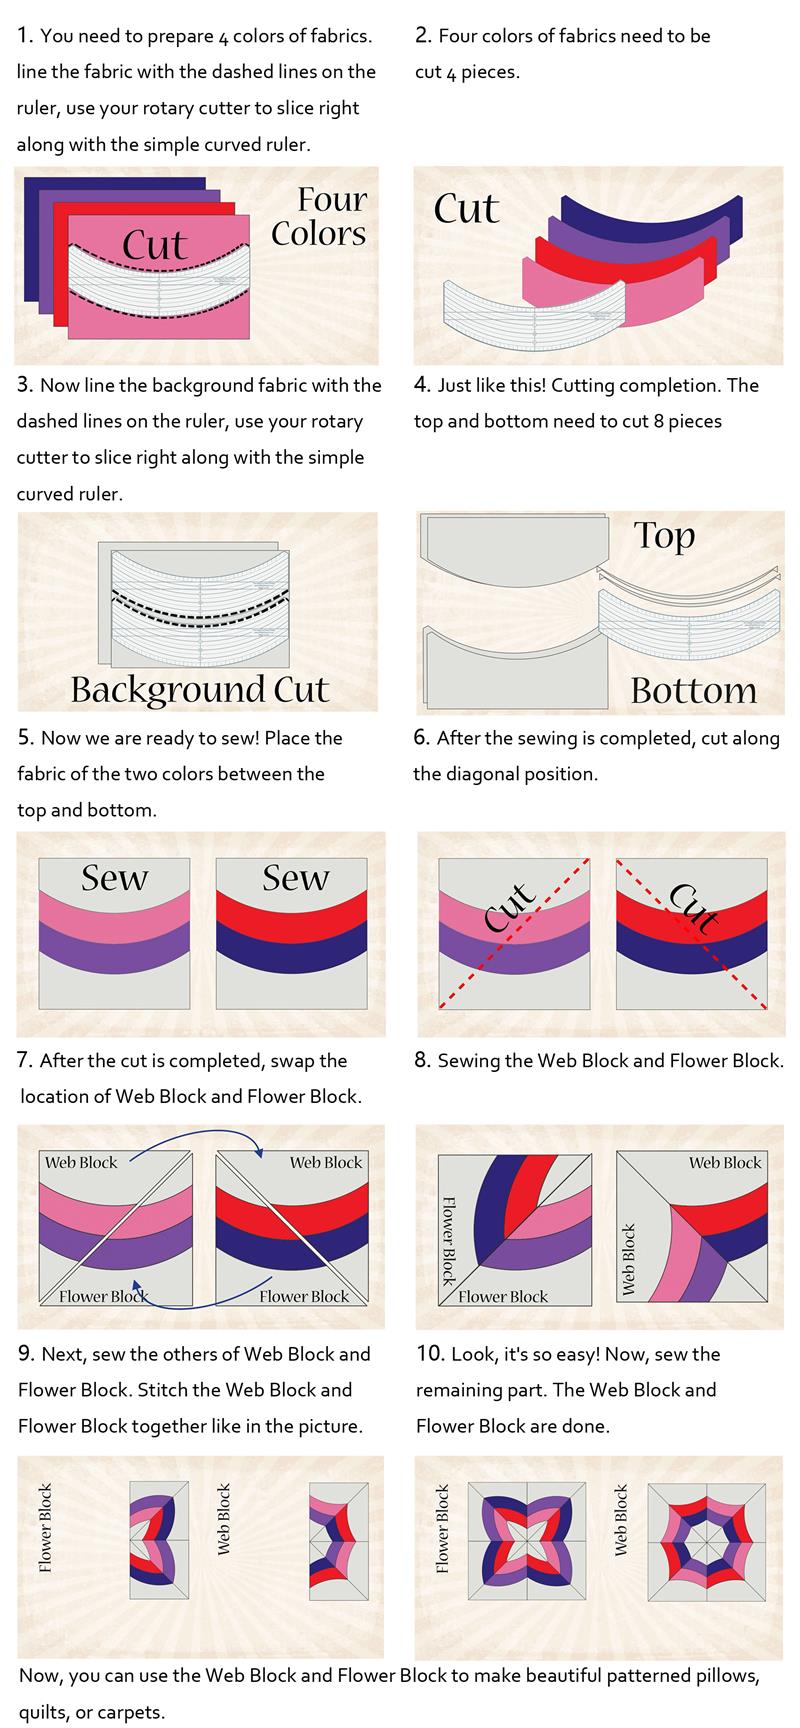
You’ll need long, 8.5” wide strips of fabric. For the first curve, line the fabric with the dashed lines on the ruler. Use your regular rotary cutter to slice right along with the curved ruler.

Look – you did it! Next, move the ruler over so that the fabric still lines up with the dashed line on the ruler. You’re now ready to cut the next curve.
Just like this!

Now continue moving the ruler over and cutting curves until you get to the end of your fabric strip.

Repeat these steps for the other fabrics you’ll be using. For this table runner kit, there are four main prints.

That wasn’t so bad, was it? Next we’ll cut the background (white) pieces.
These 3.5" x 8.5" background pieces can be stacked and cut two or three at a time. Line the fabric along the same dashed line as we did with the main prints. The right edge of the fabric will line up with the right edge of the ruler. Now just cut along the curved slit.
These 3.5" x 8.5" background pieces can be stacked and cut two or three at a time. Line the fabric along the same dashed line as we did with the main prints. The right edge of the fabric will line up with the right edge of the ruler. Now just cut along the curved slit.
Voila! Really, once you get the hang of this, it goes pretty quickly.

Repeat until you have cut all of the background curves.

Now we are ready to sew! At this point I highly recommend you cut two test blocks out and sew them first. After two blocks you’ll get the feel of it and your blocks will improve.
Grab one main fabric piece and one small background piece (concave curve). Line them up, right sides together, with 1/4” bit of the background fabric peeking out at the top.

Place fabrics under the presser foot and using a 1/4” seam…

…start sewing. It helped me to lift the top fabric up as I sewed. Keep the right edge of the fabrics lined up at the 1/4” seam as you sew. Go nice and slow at first – and you’ll get the hang of it – I promise!

When you get to the end, the bottom the white fabric should peek out about 1/4” again like when you started. We will trim these blocks down a bit when we square them up later so if they’re not perfect that’s okay!

Open up your block and pat yourself on the back because you just sewed a curve!

We need to add the other side of the block now. Grab the second piece of background fabric and line it up as shown below:

Sew as you did before, with a 1/4” seam, and lifting the top layer up a bit as you sew.

Repeat until you have made all 28 of these.

Press the blocks and then we will trim and square them up.
Trim the top and right edge of the block.
Repeat to trim and square all blocks – don’t they look great?

You’re now ready to sew the blocks together -

You will need 14 of these for the runner.

How to sew the beautiful Web Block and Flower Block?